Starry Wisdom

Entropic Words from Neilathotep

Thursday, December 20, 2018

A quick word on avro schema definition

Avro vexes me every time I use it – and the documentation is helpfully only to a small extent.  Today I was trying to add a field that stored a list (array) of strings and had a default value to an already existing schema. I tried a couple of things…

#doesn't work
{"name": "foo", {"type": "array", "items": "string"}, "default": ["bar"]}

#doesn't work
{"name": "foo", "type": {"type": "array", "items": "string"}, "default": ["bar"]}

Before I realized that the “type” required a list of types in this case, even if the list was one element long. So this is the working pattern:

{"name": "foo", "type": [{"type": "array", "items": "string"}], "default": ["bar"]}
posted by neil at 10:27 pm
under Uncategorized  

Tuesday, October 24, 2017

Putting It Together Part 1: Deploying AWS Chalice apps with Terraform.

Chalice

Chalice is the “Python Serverless Microframework for AWS”. It allows quick and simple development of REST APIs, and comes with a a deploy tool that does all the work necessary to deploy your lambda, as well as create policy and integrate with the API Gateway. Let’s start out by creating an example app:

$ chalice new-project example-app

And then we can quickly create a simple app that reads in a couple of parameters and creates a JSON response. Note the use of the decorator to declare the route and method:

from chalice import Chalice
app = Chalice(app_name='example-app')
@app.route('/customer/{customer_id}/order/{order_id}', methods=['PUT'])
def register_order(customer_id, order_id):
    # imagine inserting this into Dynamo, etc...
    return {'customer':customer_id,
            "order_id": order_id }
Deploying this as simple as:

$ chalice deploy
Creating role: example-app-dev
Creating deployment package.
Creating lambda function: example-app-dev
Initiating first time deployment.
Deploying to API Gateway stage: api
https://id.execute-api.us-west-2.amazonaws.com/api/

At which point you can access it like this:

$ curl -X PUT https://id.execute-api.us-west-2.amazonaws.com/api/customer/customer01/order/123183123
{"customer": "customer01", "order_id": "123183123"}

See the tutorial, which is quite good, for more information on what you can do inside the apps (such as tying in other AWS services).

Enter Terraform

But what if you want to use Terraform to deploy your infrastructure? The first step is to create a deployment package:

$ chalice package .
Creating deployment package.
$ ls -l deployment.zip
-rw-r--r-- 1 nchazin staff 9022 Oct 18 22:24 deployment.zip

And now we’re ready to code up our terraform. We’ll begin by defining a few variables, which we can store values for in a terraform.tfvars file.

variable "environment" {
  description = "AWS account environment environment for the lambda and api gateway)"
}
variable "region" {
  description = "AWS region"
  default     = "us-west-2"
}
variable "account_id" {
   description = "AWS account id of the environment"
}

Next we’ll define the lambda itself, along with its associated role, and a policy which allows us to log and monitor with Cloudwatch:


provider "aws" {
  profile  = "${var.environment}"
  region   = "${var.region}"
}
resource "aws_iam_role" "lambda_example_app_role" {
  name = "lambda_example_app_role"
  assume_role_policy = <<EOF
{
  "Version""2012-10-17",
  "Statement": [
    {
      "Action""sts:AssumeRole",
      "Principal": {
        "Service""lambda.amazonaws.com"
      },
      "Effect""Allow",
      "Sid"""
    }
  ]
}
EOF
}
# Logging and metric policy
resource "aws_iam_role_policy" "lambda_example_app_role_policy" {
    name = "lambda_example_app_role_policy"
    role = "${aws_iam_role.lambda_example_app_role.id}"
    policy = <<EOF
{    
  "Version""2012-10-17",
  "Statement": [
    {
      "Effect""Allow",
      "Action": [
        "cloudwatch:PutMetricData",
      ],
      "Resource""*"
    },
    {
      "Effect""Allow",
      "Action": [
        "logs:CreateLogGroup",
        "logs:CreateLogStream",
        "logs:PutLogEvents"
      ],
      "Resource""arn:aws:logs:*:*:*"
    }
  ]
}
EOF
}
resource "aws_lambda_function" "example_app" {
    function_name = "example_app"
    # This is the archive we created with chalice package
    filename = "deployment.zip"
    description = "An example app"
    role = "${aws_iam_role.lambda_example_app_role.arn}"
    handler = "app.app"
    timeout = 300
    runtime = "python3.6"
}


With our lambda set up, we can create out API Gateway:


# this declares the api gateway
resource "aws_api_gateway_rest_api" "example_api" {
    name = "CustomerOrderAPI"
    description = "API Gateway to register customer orders"
}
 
/*
 these four blocks declare the path for our api
-------------------------------------------------------------------------
*/
resource "aws_api_gateway_resource" "customer" {
    rest_api_id = "${aws_api_gateway_rest_api.example_api.id}"
    parent_id = "${aws_api_gateway_rest_api.example_api.root_resource_id}"
    path_part = "customer"
}
 
resource "aws_api_gateway_resource" "customer_id" {
    rest_api_id = "${aws_api_gateway_rest_api.example_api.id}"
    parent_id = "${aws_api_gateway_resource.customer.id}"
    path_part = "{customer_id}"
}
 
resource "aws_api_gateway_resource" "order" {
    rest_api_id = "${aws_api_gateway_rest_api.example_api.id}"
    parent_id = "${aws_api_gateway_resource.customer_id.id}"
    path_part = "order"
}
 
resource "aws_api_gateway_resource" "order_id" {
    rest_api_id = "${aws_api_gateway_rest_api.example_api.id}"
    parent_id = "${aws_api_gateway_resource.order.id}"
    path_part = "{order_id}"
}
 
/*
-------------------------------------------------------------------------
*/
 
 
# Declare a PUT method on that our full path
resource "aws_api_gateway_method" "example_method" {
    rest_api_id = "${aws_api_gateway_rest_api.example_api.id}"
    resource_id = "${aws_api_gateway_resource.order_id.id}"
    http_method = "PUT"
    authorization = "NONE"
}
 
 
# Tie the API method into our lambda backent
# Note: the integration_http_method for a lambda is POST, regardless of the gateway method
resource "aws_api_gateway_integration" "example_api_integration" {
    rest_api_id             = "${aws_api_gateway_rest_api.example_api.id}"
    resource_id             = "${aws_api_gateway_resource.order_id.id}"
    http_method             = "${aws_api_gateway_method.example_method.http_method}"
    integration_http_method = "POST"
    type                    = "AWS_PROXY"
    uri                     = "${aws_lambda_function.example_app.invoke_arn}"
}


# API gateway uses stages for release control - we'll define dev and prod
resource "aws_api_gateway_deployment" "example_deployment_dev" {
  depends_on = [
    "aws_api_gateway_method.example_method",
    "aws_api_gateway_integration.example_api_integration",
  ]
  rest_api_id = "${aws_api_gateway_rest_api.example_api.id}"
  stage_name = "dev"
}
 
resource "aws_api_gateway_deployment" "example_deployment_prod" {
  depends_on = [
    "aws_api_gateway_method.example_method",
    "aws_api_gateway_integration.example_api_integration",
  ]
  rest_api_id = "${aws_api_gateway_rest_api.example_api.id}"
  stage_name = "api"
}
 
# these output variables will show the base of the endpoint we'll query
output "dev_url" {
}
 
output "prod_url" {
}

The final piece is the permission that allows our API Gateway to access the lambda. Note that you can be more specific and limit acess to the specific API method and path if desired by adding them to the source_arn.

Now we can install our API:


$ terraform apply
...
Apply complete! Resources: 13 added, 0 changed, 0 destroyed.
The state of your infrastructure has been saved to the path
below. This state is required to modify and destroy your
infrastructure, so keep it safe. To inspect the complete state
use the `terraform show` command.
State path:
Outputs:
ev_url = https://id.execute-api.us-west-2.amazonaws.com/dev
prod_url = https://id.execute-api.us-west-2.amazonaws.com/api

And query it at both the stage and prod endpoints:


$ curl -X PUT  https://id.execute-api.us-west-2.amazonaws.com/dev/customer/aaa/order/bbb
{"customer""aaa""order_id""bbb"}
$ curl -X PUT  https://id.execute-api.us-west-2.amazonaws.com/dev/customer/yoyodyne/order/100
{"customer""yoyodyne""order_id""100"}
posted by neil at 10:41 pm
under technology  

Friday, April 17, 2015

Noah

I met Noah at 4:07 AM on March 27, 2015. He’s pretty cute.

posted by neil at 12:33 pm
under Uncategorized  

Thursday, March 19, 2015

Be careful how you use data structures!

Recently at work I came across a certain long-lived server process that was using an immense amount of memory over time. Every few days it would grow something over 10GB of resident memory, at which time we would restart the process. This was clearly not an ideal solution, especially because this specific server was running on something like eighty servers in forty data centers. So last week, during some relatively down time, I dug into where the memory was going. The first thing I did was spend some time with the heap profiler and heap checker from google’s perftools (https://code.google.com/p/gperftools/?redir=1) (side note – this is still on google code and not github!?). This showed nothing particularly useful. I then resorted to using valgrind on a test box, which, after an excruciatingly slow run, showed no leaks.

Well, I next spent a little time on code inspection, where I found that where there was one place where a leak was possible, it wasn’t likely to contribute to GB of leaked memory over days under the workloads that we have. And then the next thing I did was break out all the inputs to the server – client requests, plus data streams going into it. I went through these one at a time, and finally found that our primary data stream could easily raise the memory usage from a baseline of around 2GB to the 10 GB when I ran it through a test box at an accelerated rate.

Without going into too much detail, this data stream basically gives us a small number of data points for many pieces of data. These data sources usually each contribute their own data to the data point, and this data can change over time. So conceptually there is a two level data structure:

As it was written (disclaimer – I wrote much of the code in this server, but I don’t think I wore this part… although I may have) this was two levels, each implemented by c++11 std::unordered_map – which is essentially a hash table. The lower level map was defined in particular as std::unordered_map<std::string, Pod>. For the purposes of this article, the Pod type was this (and this is actually almost exactly what we were using:

struct Pod {
uint32_t item1{0};
uint32_t item2{0};
time_t timestamp{0};
};

A word about the strings – these were the host ids of the several servers providing the data. So in effect, every “bucket” in the upper level map had a map inside of it with the same several keys in it. Which meant that we were spending a lot of space on the keys. So the quick thing to do was to create an ancillary std::unordered_map<std::string,uint16_t> to map the hostname into integers and therefor the lower level maps become std::unordered_map<uint16_t,Pod>. Testing this showed that memory usage went down by around 3GB, which was a big saving. The math for removing the strings didn’t quite ever add up, but I was fairly happy. 3GB savings from 8GB is about 38% improvement, at the cost of one additional O(1) lookup per insertion. But maybe there was more to do. Why use a map at all when you have the same 5 keys there for *almost* every single lower level map. What if we just used a std::vector<Pod>? For this run the memory used was 5.4 GB below the baseline, or an additional 2.4 GB used. This was a savings of over 5GB, or over 60%!

It wasn’t obvious to me what was going on, so I wrote a little program to test a very simple scenario of allocating 10 million of the lower level “maps” with different strategies – std::unordered_map,std::map and std::vector. Here are the results for memory used compiling with both clang and g++ – all memory is in KB used, as reported by ps -ev on linux.

This gives results similar to my results for our production code at work. And it was at this point that I realized what was going on. When you create a hash table, it is not sized to the actual data in it - there is a lot of extra space used in the table for buckets that are not full - wasted space. This is not a big deal for a fairly dense hash table. However the vector was sized for the exact number of elements inside of it - there is still some overhead for the vector itself, but compared to the empty space in the hash table, it's not much. In hindsight this is fairly obvious, but it was not clear to me or my coworkers when I first started looking into this memory issue.

By the way, my test code is available here.

posted by neil at 9:17 pm
under technology  

Friday, November 14, 2014

Kitchen Renovation – small big things

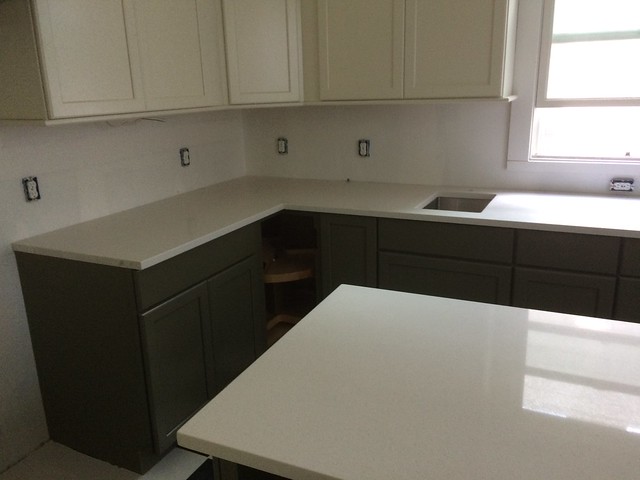
In the past week, the countertops were put in:

Untitled

They are engineered quartz (Caesarstone brand) and are a huge improvement over the old laminated counters, if I do say so myself.

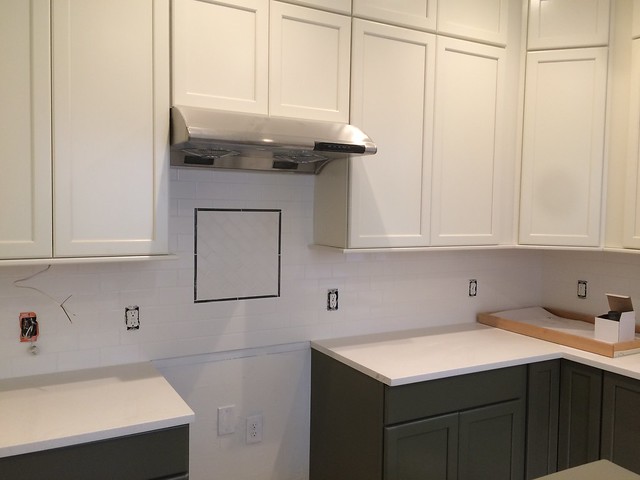
A few days later, the backsplash (subway tile) was installed:

Untitled

The prep sink is now fully functional, and the main sink is mostly hooked up – we’re in the home stretch now. Our contractor tells us that we should have a functional kitchen by the end of today – inspections are the end of next week.

posted by neil at 9:00 am
under kitchen renovation  

Sunday, November 2, 2014

Kitchen Renovation, And Then…

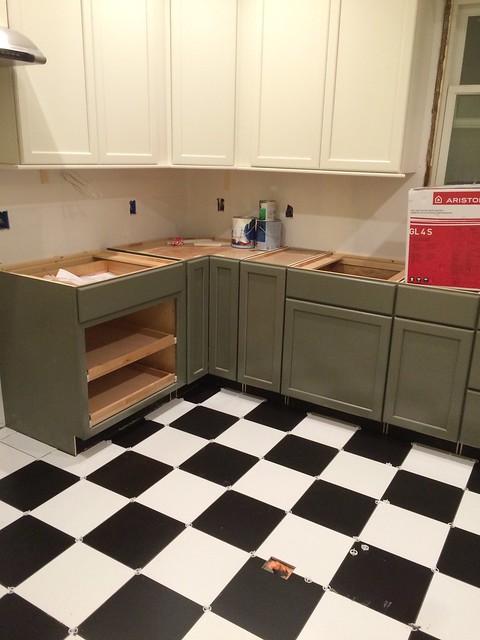
Well as mentioned, the tile was installed in the past couple of weeks:

Untitled

And the counter top templates were finished, but due to some FURTHER miscommunication, there was a delay before the fabrication could begin of another week and a half. The good news is that we have an install date for the counter tops now, of 11/10, and after that the backsplash tiling, and appliance hookup can happen. There are still a few other details to be done too, but the counters are really the long pole here.

posted by neil at 5:29 pm
under home ownership,kitchen renovation  

Saturday, October 18, 2014

Kithen Renovation – One month, and then some.

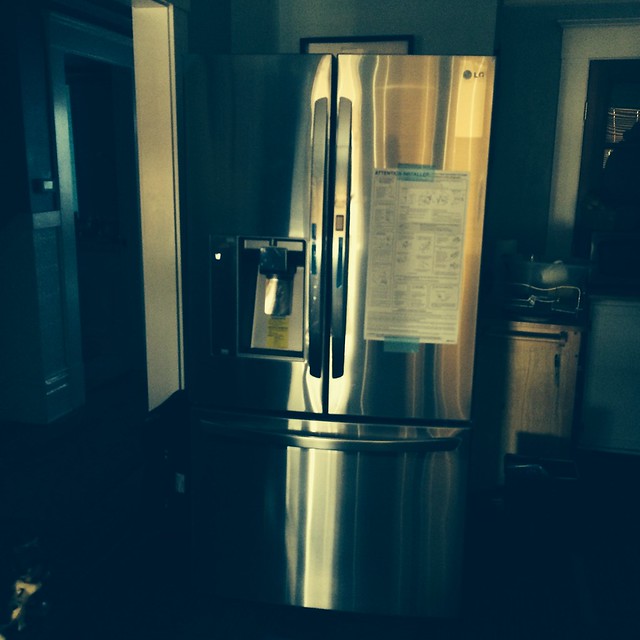
It’s been a busy time the past couple of weeks. I spent all of the week before last in Portland for work, leaving Mackenzie to manage the project herself. In that week our fridge was finally delivered, and is now parked in the living room, since the dining room was still filled with cabinet boxes when it arrived:

New fridge - in living room...

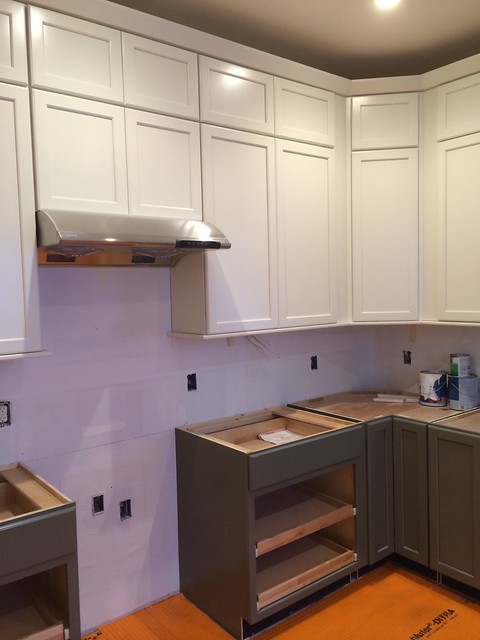
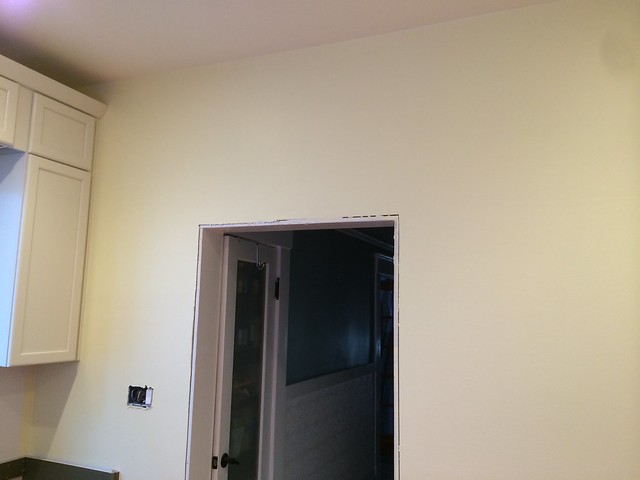
Anyway, I came home to most of the cabinets installed, but the apron sink not yet set into the counter… there was some miscommunication about what was necessary before counter top templating, and this caused an additional one week delay in that (it was supposed to be done on 10/8 but instead wasn’t finalized until 10/15. There is about a 10 day manufacturing time on the counter tops… but hey at least all the cabinets are in, the hood is installed, and the walls and ceiling are painted:

Trip added to cabinets, tile underlayment, and hood!

Feature wall

Next week the floor tile will go in, as well as some more detail work, and then, well I don’t know. I think there are still a few more weeks left of the project, but hey, there aren’t as many boxes taking up space all over the house, at least…

Note – full album of the project pics available here

posted by neil at 5:00 pm
under home ownership,kitchen renovation  

Sunday, October 5, 2014

Kitchen Renovation – Small Progress

At the end of the third week, the progress is:

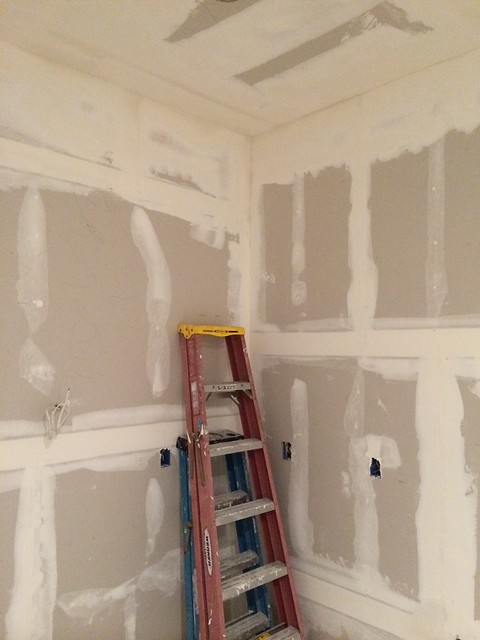
Rough inspections passed, hose bib attached on the deck (this was an add-on job Mackenzie requested which the contractor kindly provided gratis, and drywall taped and mudded:

Untitled

I was hoping to have had some cabinet installation done this week, because the cabinets in their boxes are taking up a tremendous amount of space in the house, but alas, that hasn’t started yet. Now there is a race to get that done so this week we can get the counter tops templates, and the new fridge delivered. I am a bit concerned about either/both of those items happening on schedule, especially since I am going to be out of town all week long for work. Oh well, Mackenzie runs projects bigger than this for a living, I’m sure she can manage to hold down the fort.

posted by neil at 10:27 am
under home ownership,kitchen renovation  

Sunday, September 28, 2014

Kitchen Renovation – 2 weeks in

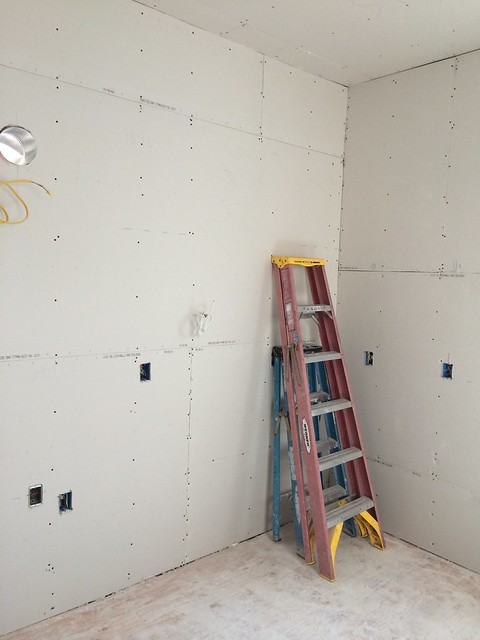
Well, after two weeks and 1 day of work (a team came in yesterday, Saturday 9/27/2014 to put in drywall), we have drywall up, and most of the plumbing and electrical done. Most, because the inspectors found some minor issues and need to come back, and also some of our minor added work needs to be done. This means at least some of the drywall will have to come down (as you can see it’s not mudded and taped yet) for access and to show the inspectors.

Southeast corner, drywall in - Day '11'

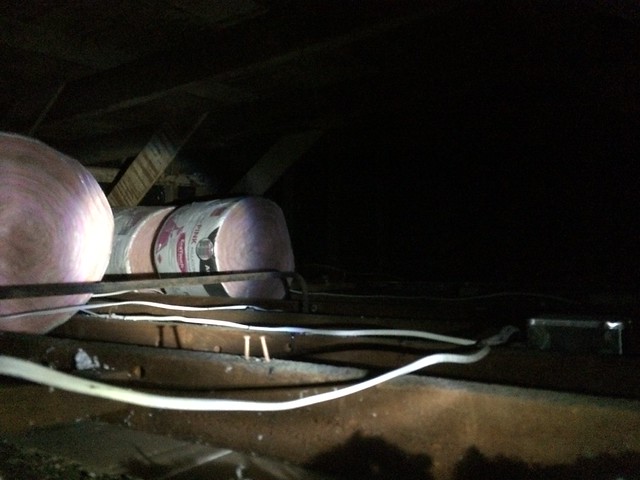
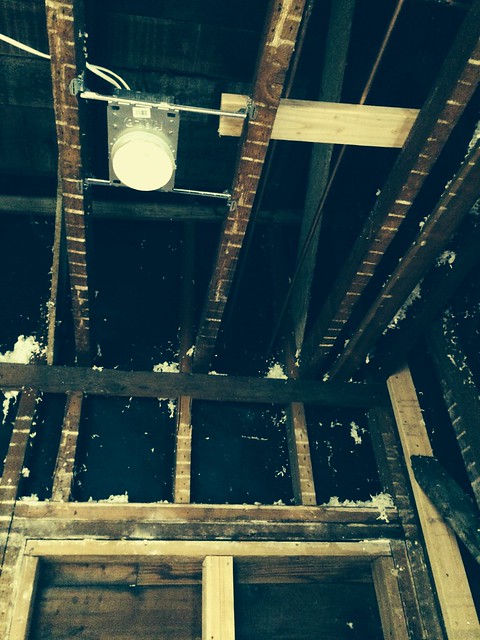
It’s a good thing it’s not done yet too, because there are still rolls of R-30 fiberglass insulation sitting in the attic:

Hey look, rolled up batting I'm the attic

Getting up there is sort of a pain, but as part of a “clean up the pantry of expired canned goods” task it made sense to take a peak up there and get that photo!

Anyway, I’m really note sure what the schedule is right now, but I believe that cabinets can start going in at some point this week – so they might all be up by the end of the week, or it might be early next week. Once this happens, we can get the counter top people in to template, and that ten day or so period begins, while tiling and other detail work can begin. In other words there are at least three weeks left of this project. I’ll be happy when the cabinets start going up, because the whole house is filled them them i their shipping boxes. It’s getting a bit claustrophobic in here!

posted by neil at 12:39 pm
under home ownership,kitchen renovation  

Sunday, September 21, 2014

Kitchen Renovation, Part 2

As always, you can see the full set of pictures here:

https://www.flickr.com/photos/neilathotep/sets/72157647318883600/

First of all, we went to the “kitchen warming” party of Mackenzie’s college friend today – they had their kitchen done over the summer and it looks great, so I am looking forward and hopeful for our final results!
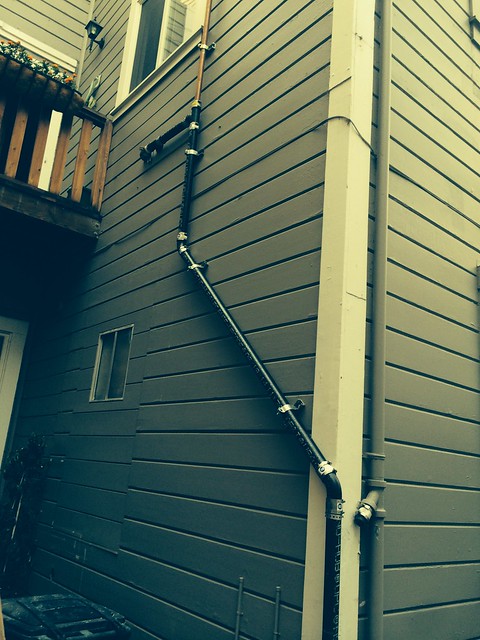
However, not too much has happened since the last post, although there has been some plumbing work done. We’re moving the dishwashing sink from the south wall to the west wall – which means a new waste water stack:

New waste stack

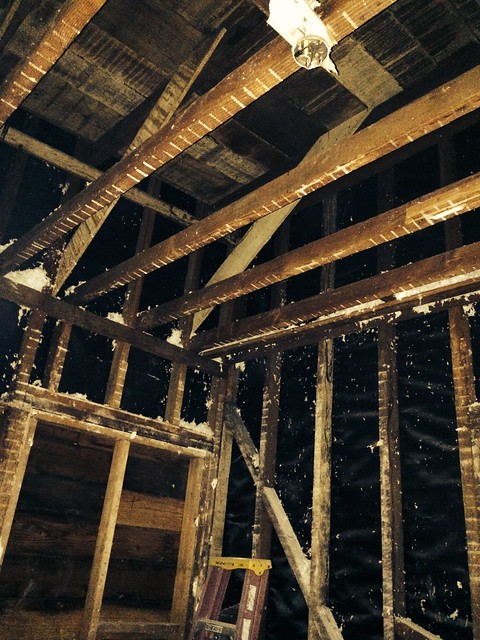
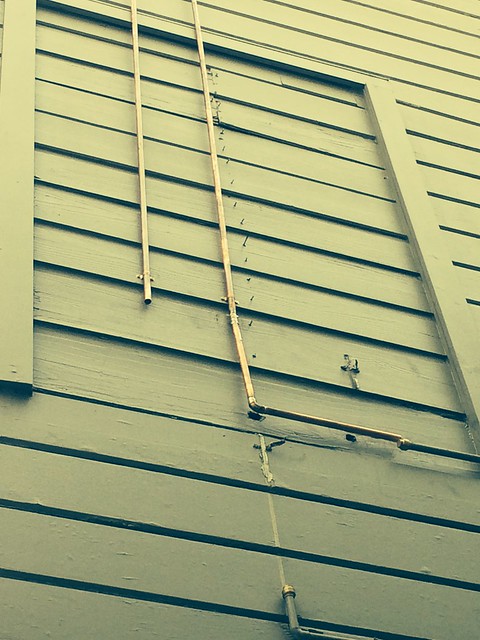
As well as some rerouting of the supply lines, which are now going through the attic:

External supply lines - up and over the old, boarded in window on the East wall

Supply lines through the attic

We found out that there is going to be at least a half week delay in getting inspections for the rough plumbing and electrical, which are not going to happen until Friday 9/26. Assuming that all goes well, drywalling will start Saturday 9/27 – so hopefully the cabinets will be hung by the end of that week, and then counters can be templates and the rest of the finishing work begun.

posted by neil at 9:43 pm
under home ownership,kitchen renovation  
Next Page »

Powered by WordPress